Image Gallery
What is an image gallery section?
An image gallery section in the theme editor is a customizable feature that enables users to display a collection of images in a visually appealing and organized manner on their website. This section allows you to showcase multiple images in a grid or carousel format, providing a user-friendly way to present visual content such as product photos, portfolio images, or any other visual elements relevant to your website's purpose. Users can typically upload, arrange, and customize the appearance of images within the gallery section to enhance the overall aesthetic and engagement of their website.

How to set up an image gallery section?
1. Go to the theme editor and add the image gallery section.
2. After integrating the image gallery section, customize its settings by accessing the options on the right side.
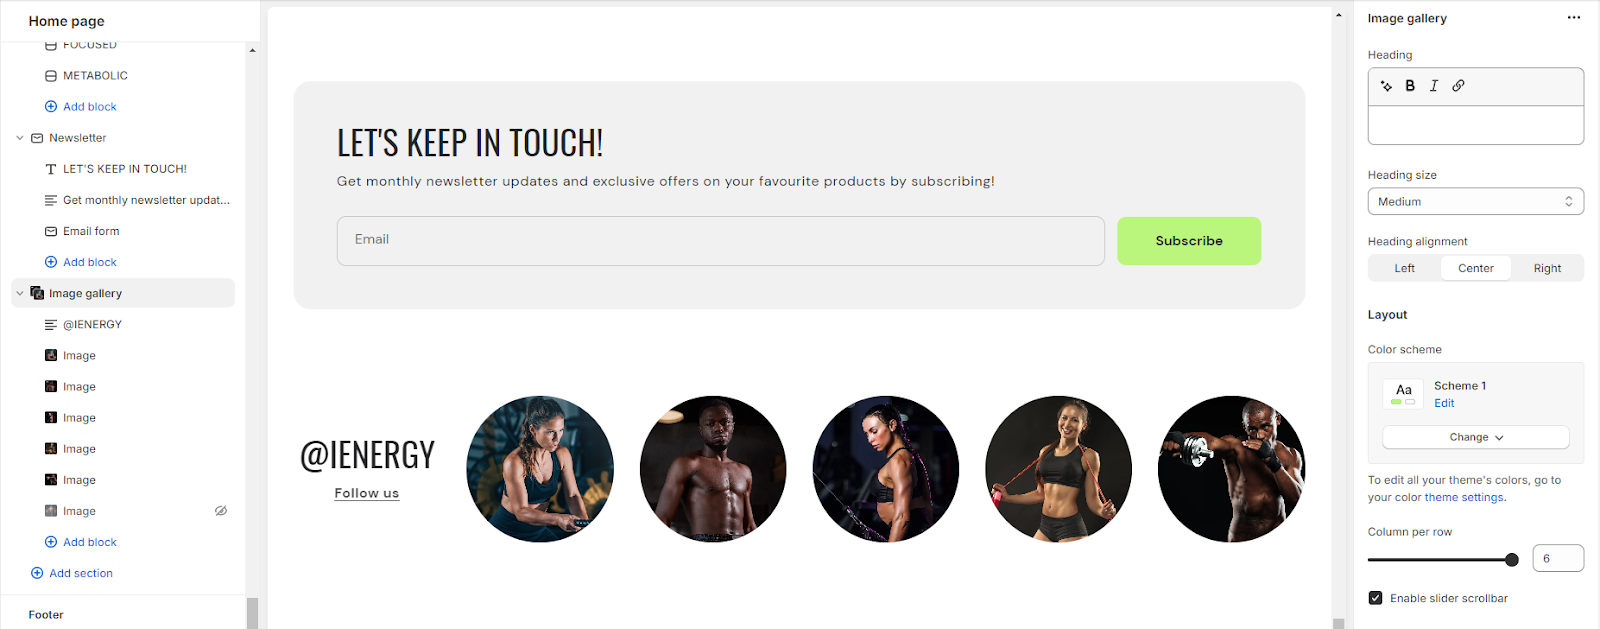
3. Start by adding a heading to the section. Tailor the heading size and alignment according to your preferences from the provided options.
4. Directly below, manage the layout of the image gallery section. Choose a color scheme from the four available options.
5. Specify the range for displaying the columns per row. Opt to enable the slider scrollbar for a visual presentation of images in a scrollbar, or, if disabled, the images will be visible in a second row based on the selected columns per row.
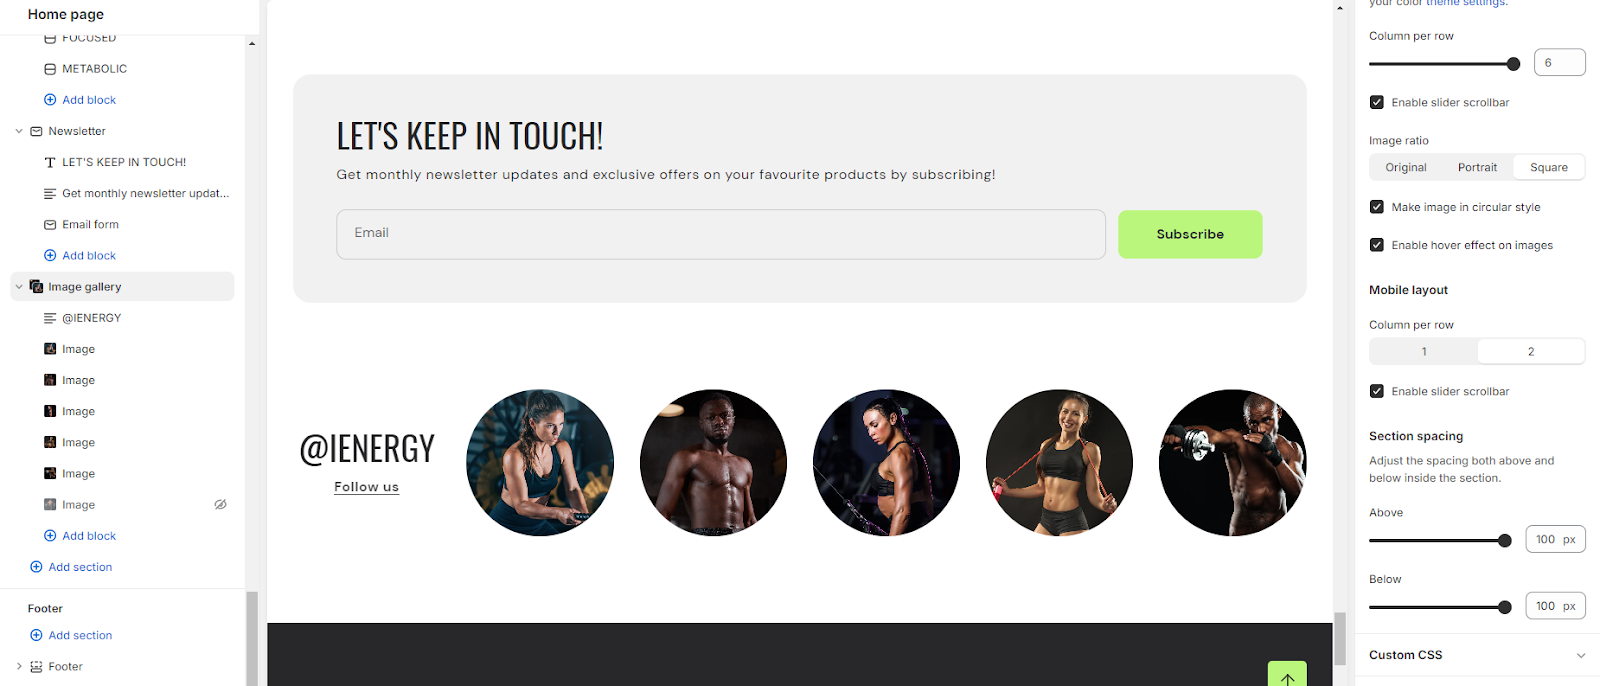
6. Opt for the image ratio from three available options: Original, Portrait, and Square. Additionally, enable the circular style for images and activate hover effects as desired.
7. Choose the number of columns per row you wish to display for the mobile layout.
8. Fine-tune the spacing above and below the section using the section spacing slider.
9. Lastly, access Theme Settings to enable the Sequential Sections on the Scroll option.
10. Optionally, utilize the option to add custom CSS for incorporating unique styles to the section.
Add Blocks
1. Once the image gallery section is added, you can choose to include both image and text blocks within that section.
2. After adding the image and text block, you'll find options to customize each block.
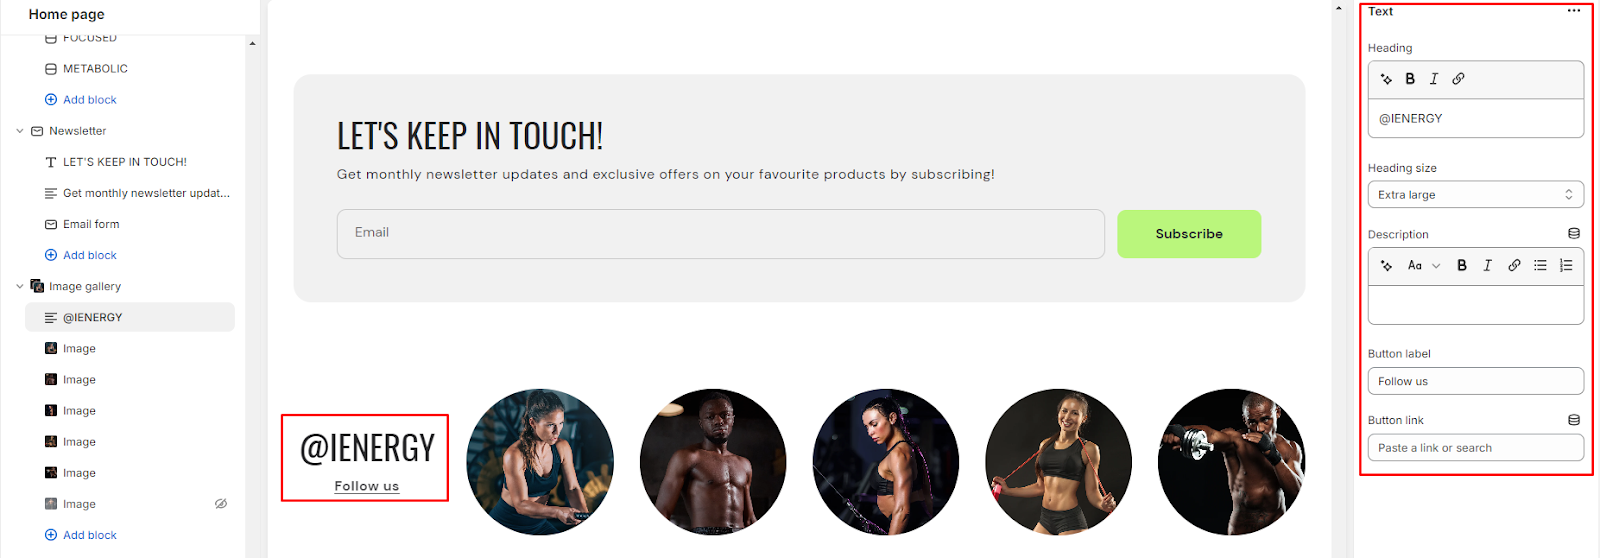
3. By clicking on the text block, customization options will appear on the right side.
4. Choose the heading you want for the image gallery and select its size from the available options: Small, Medium, Large, Extra Large.
5. Describe your image gallery in the provided fields, and enhance customer experience by adding a button label and linking it.
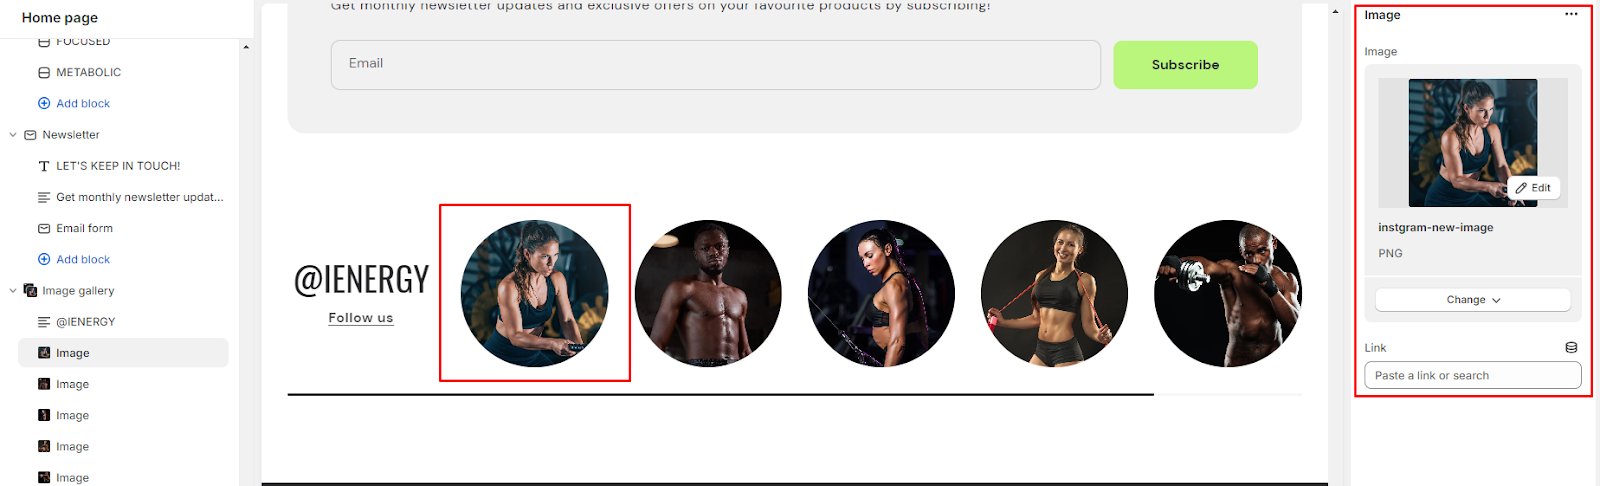
6. Similarly, you can customize your image block on the right side.
7. Here, you can add the image and insert its corresponding link.
Unable to locate the information you need?
Our support team is here to help! Feel free to reach out anytime – we're just a message away and ready to assist you with any questions you may have.