Checkout
Here are the steps for implementing the checkout section in your theme:
1. Banner: Add a banner to the checkout section.

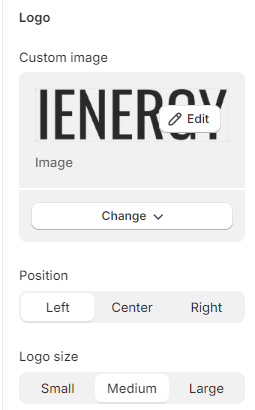
2. Logo: Allow customization of the logo displayed in the checkout section.
3. Provide options to position the logo (left, center, right) and set its size (small, medium, large).
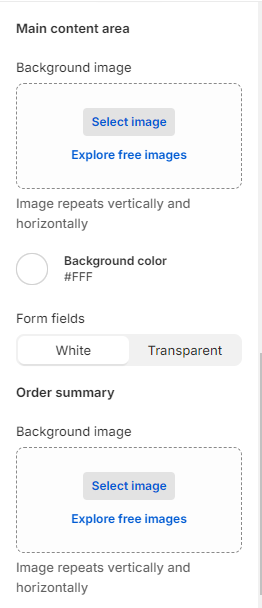
4. Main Content Area: Customize the background of the main content area in the checkout section.
5. Order Summary: Customize the background of the order summary section.
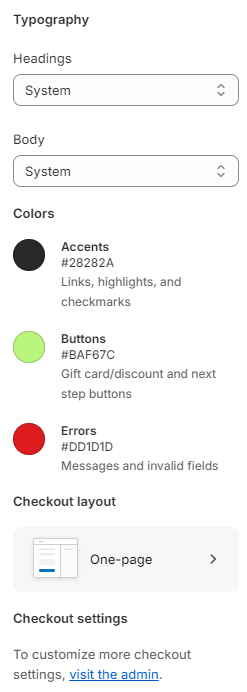
6. Typography: Customize the typography settings for headings and body text in the checkout section.
7. Colors: Define color settings for various elements in the checkout section.
8. Checkout Layout: Choose between a one-page checkout or three page layout.