Map
Customize the Map in the template:
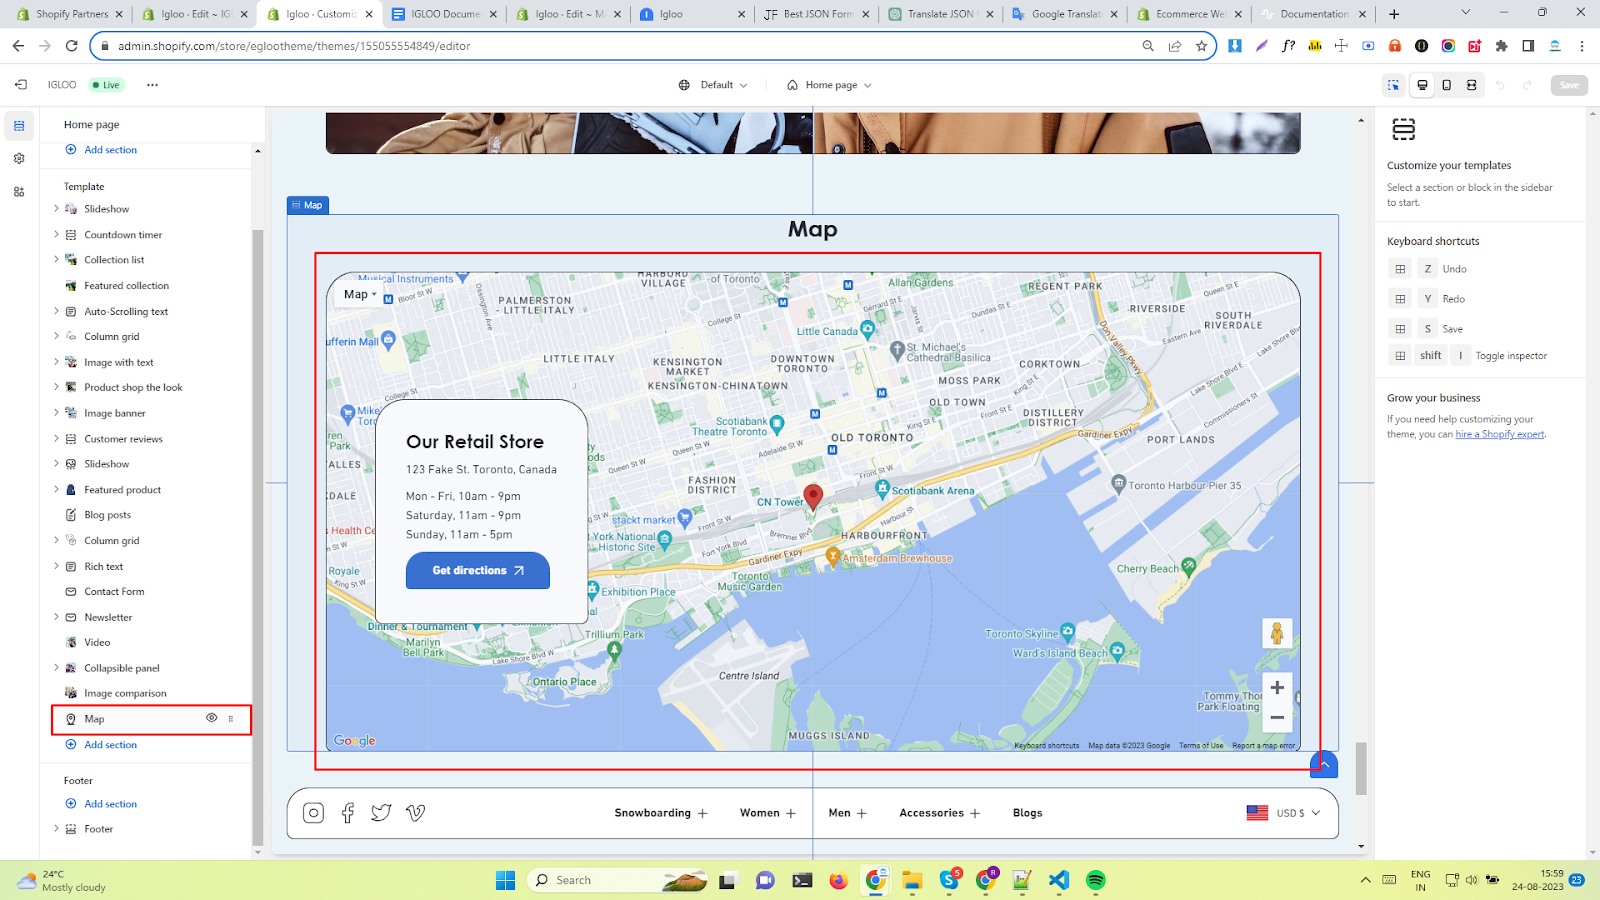
1. Access the template section and locate the "Add Section" function positioned directly above the Footer section. Clicking on the "Add Section" feature will reveal a submenu with various options, including the "Map" functionality.
2. If the "Map" option is not immediately visible, employ search methods to quickly locate it. Once the "Map" option is identified, click on it to seamlessly add it into the template.

3. After successfully incorporating the "Map" section into the template, proceed by selecting this newly added section.
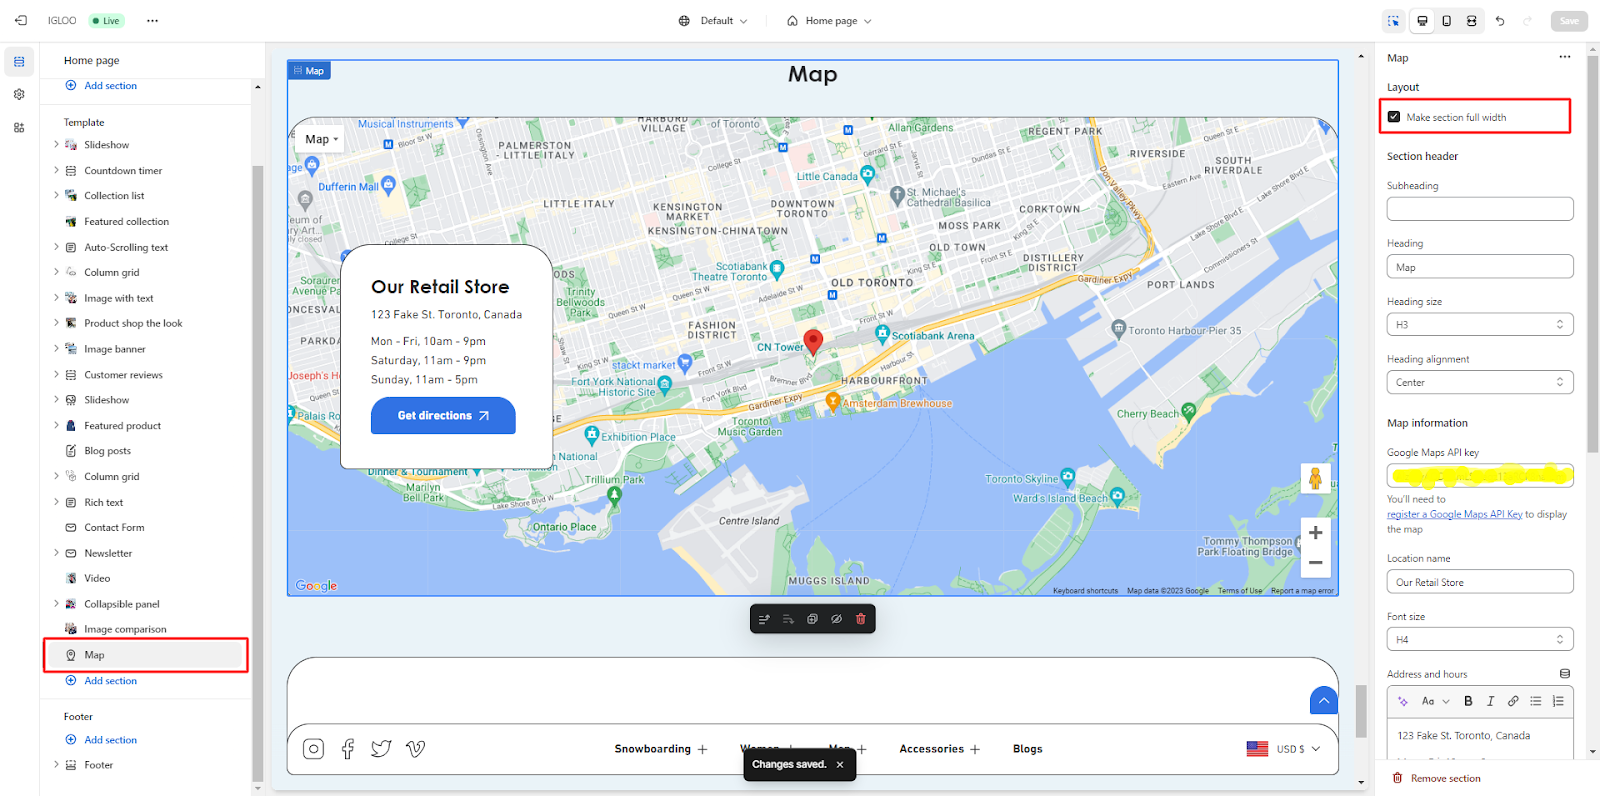
4. Within this section, you have the opportunity to personalize the layout of the Map. There is a checkbox available that allows you to enable a full-width display for the section.
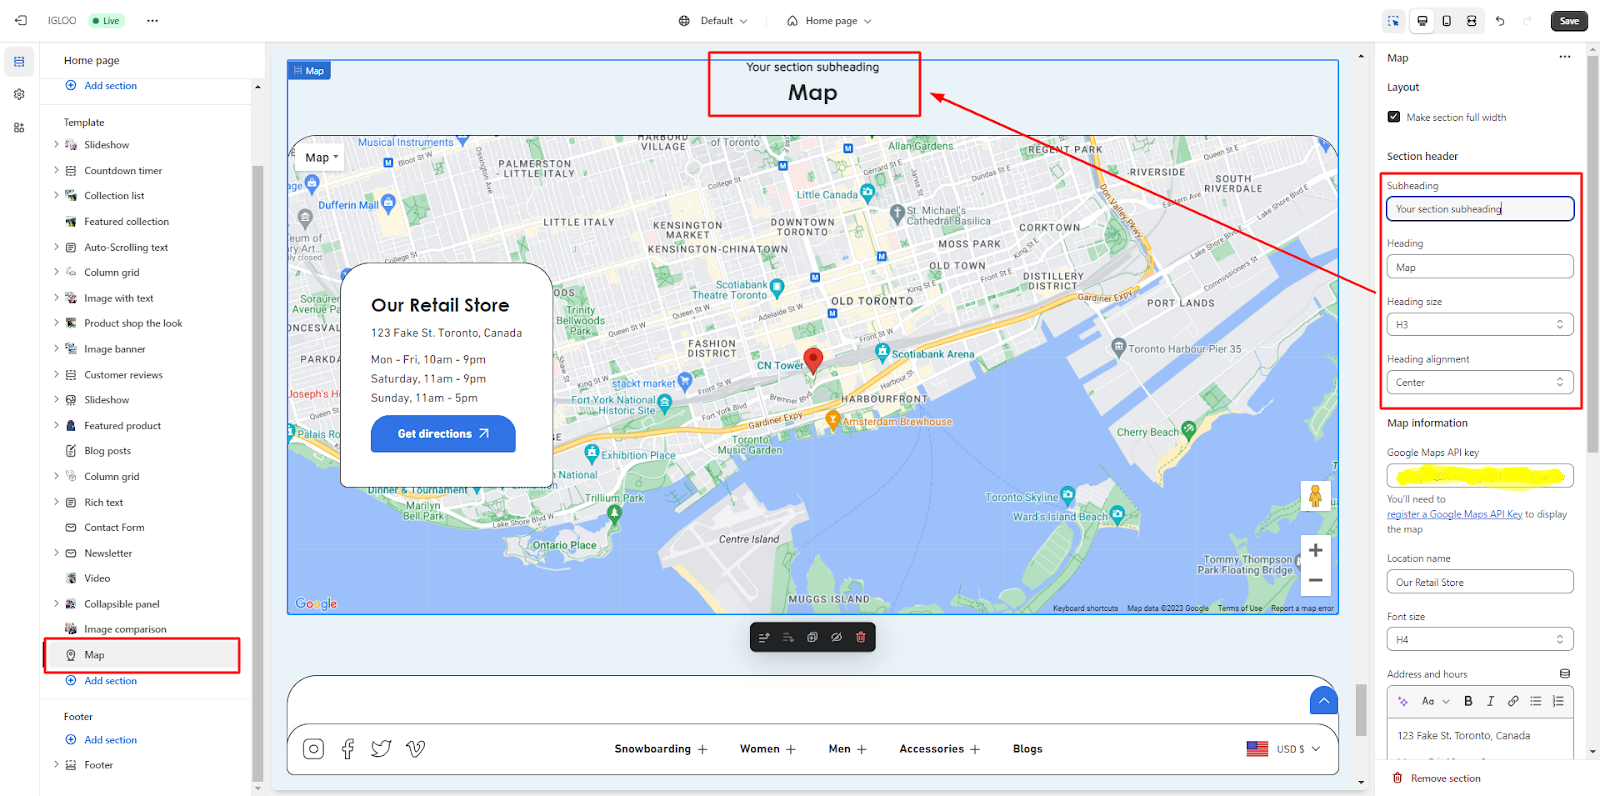
5. Subsequently, proceed to customize the section header of the Map. This is where you can specify the subheading and heading text.
Furthermore, you have the capability to adjust the size and alignment of the heading.
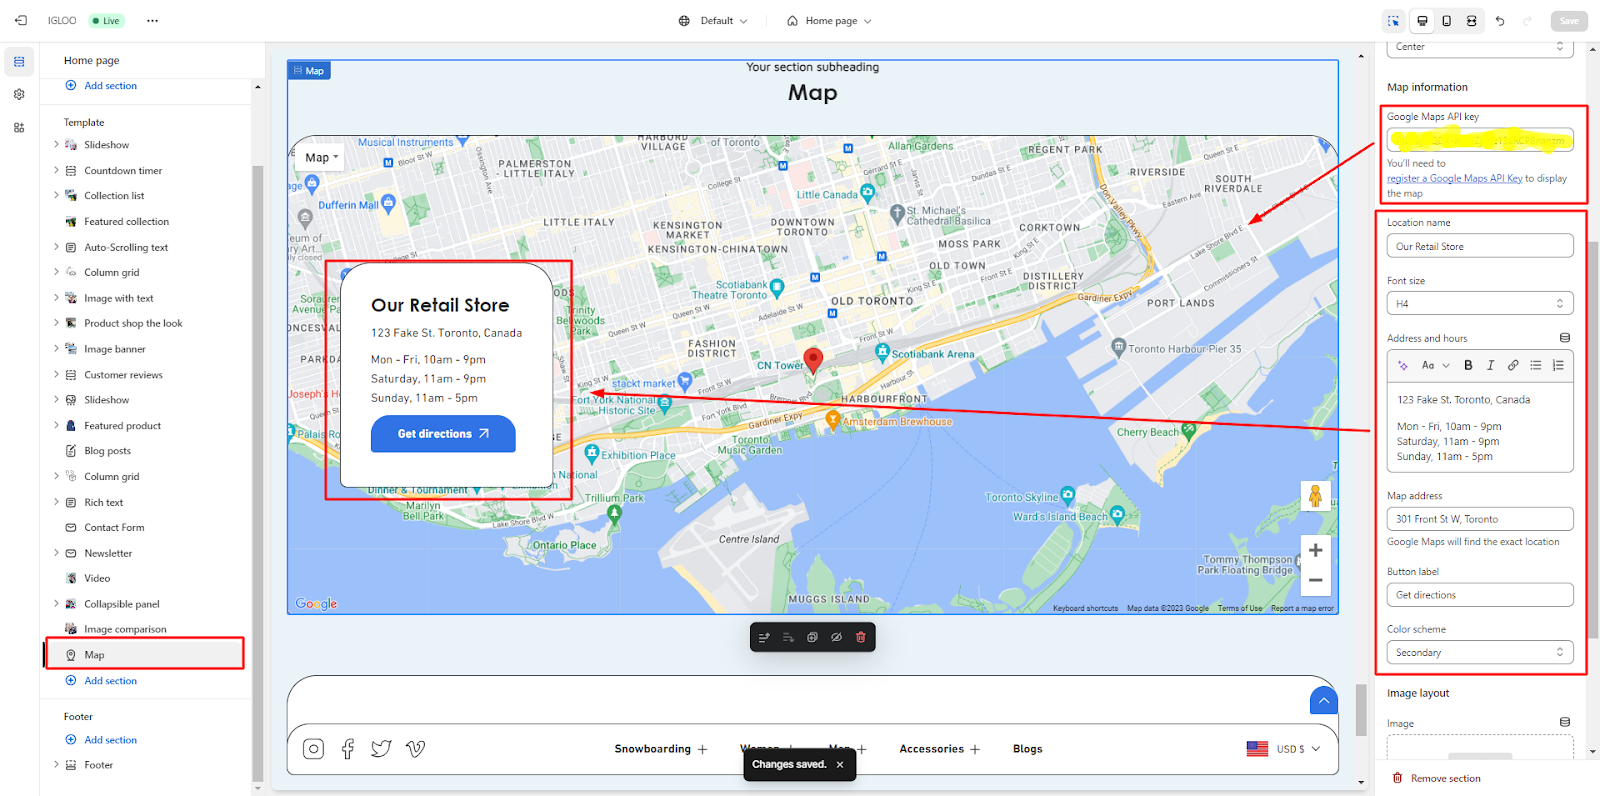
6. Next, you can populate the Map information in the provided fields. Begin by entering the Google Maps API key, which you will receive upon registering for a Google Maps API key.
7. Once the API key is added, you can input the location name and its corresponding font size.
Directly below, you have the option to input the address and operating hours.
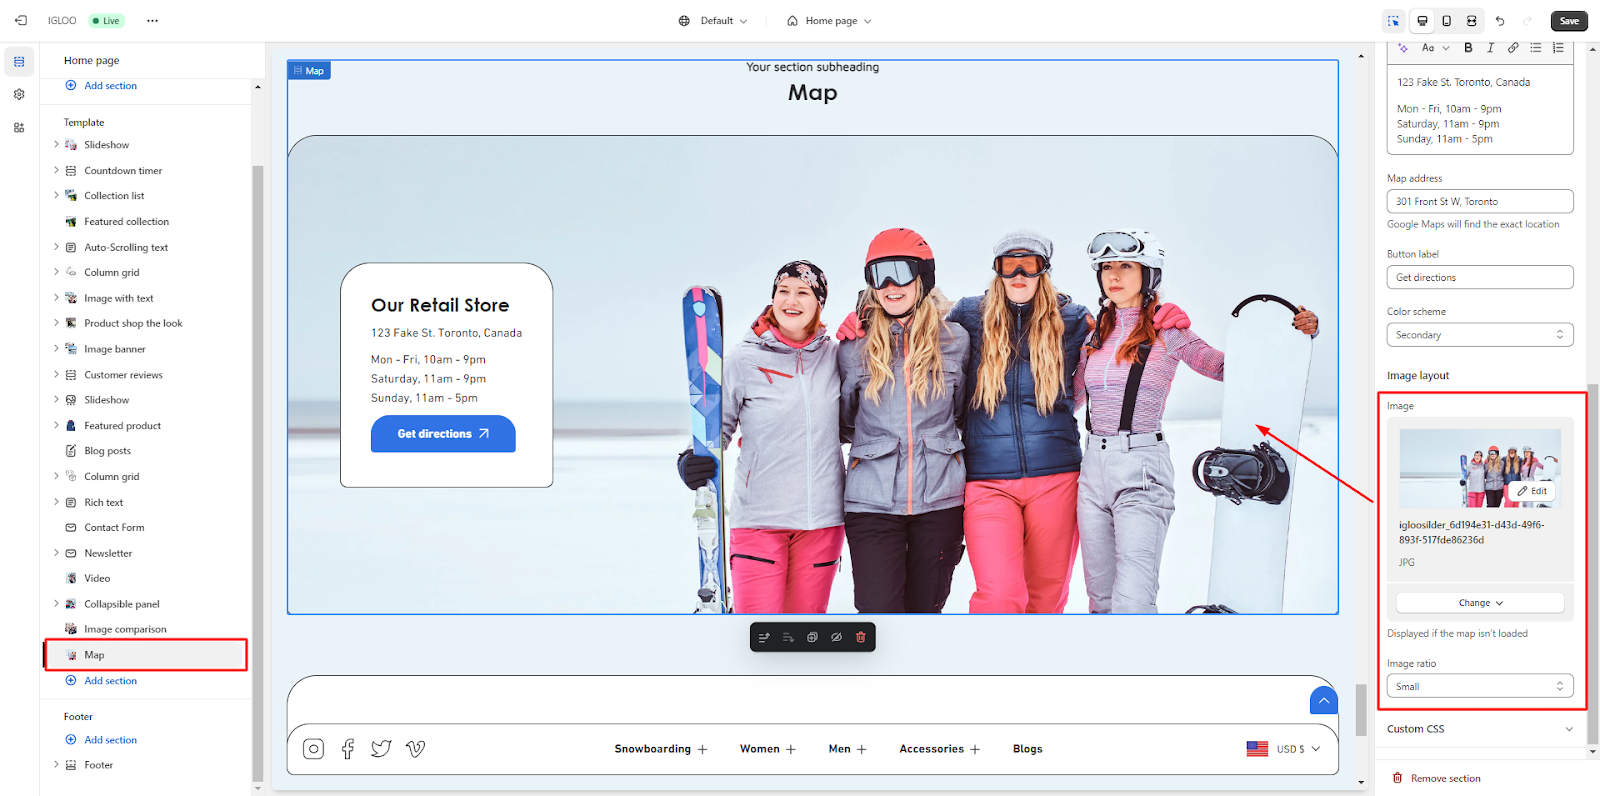
Specify the Map address that you wish to display. Additionally, there is a button below these fields where you can define the button label and choose its color scheme.
8. Furthermore, you can upload an image for the map. This image will be displayed when the map is not yet loaded. You also have the option to select the image ratio.
Unable to locate the information you need?
Our support team is here to help! Feel free to reach out anytime – we're just a message away and ready to assist you with any questions you may have.