Newsletter
Customize the newsletter in the template:
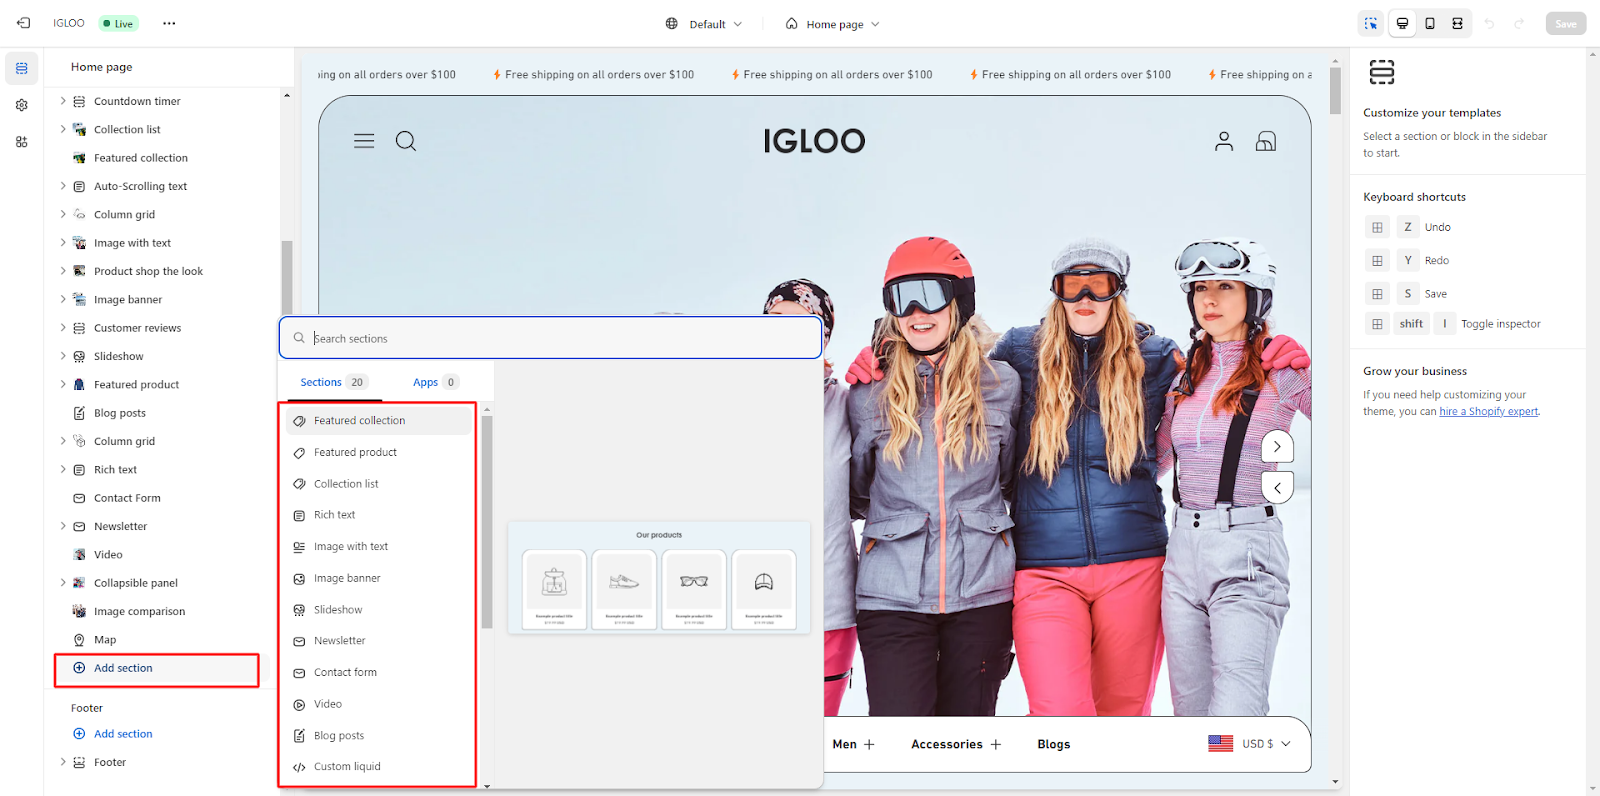
1. Access the template section and locate the "Add Section" feature situated directly above the Footer section. Upon activating the "Add Section" option, a submenu will be unveiled, presenting various choices, including the "Newsletter" feature.
If the "Newsletter" option is not immediately visible, expedite its discovery through optimized search methods. Upon selecting the "Newsletter" option, it will seamlessly integrate into the template.
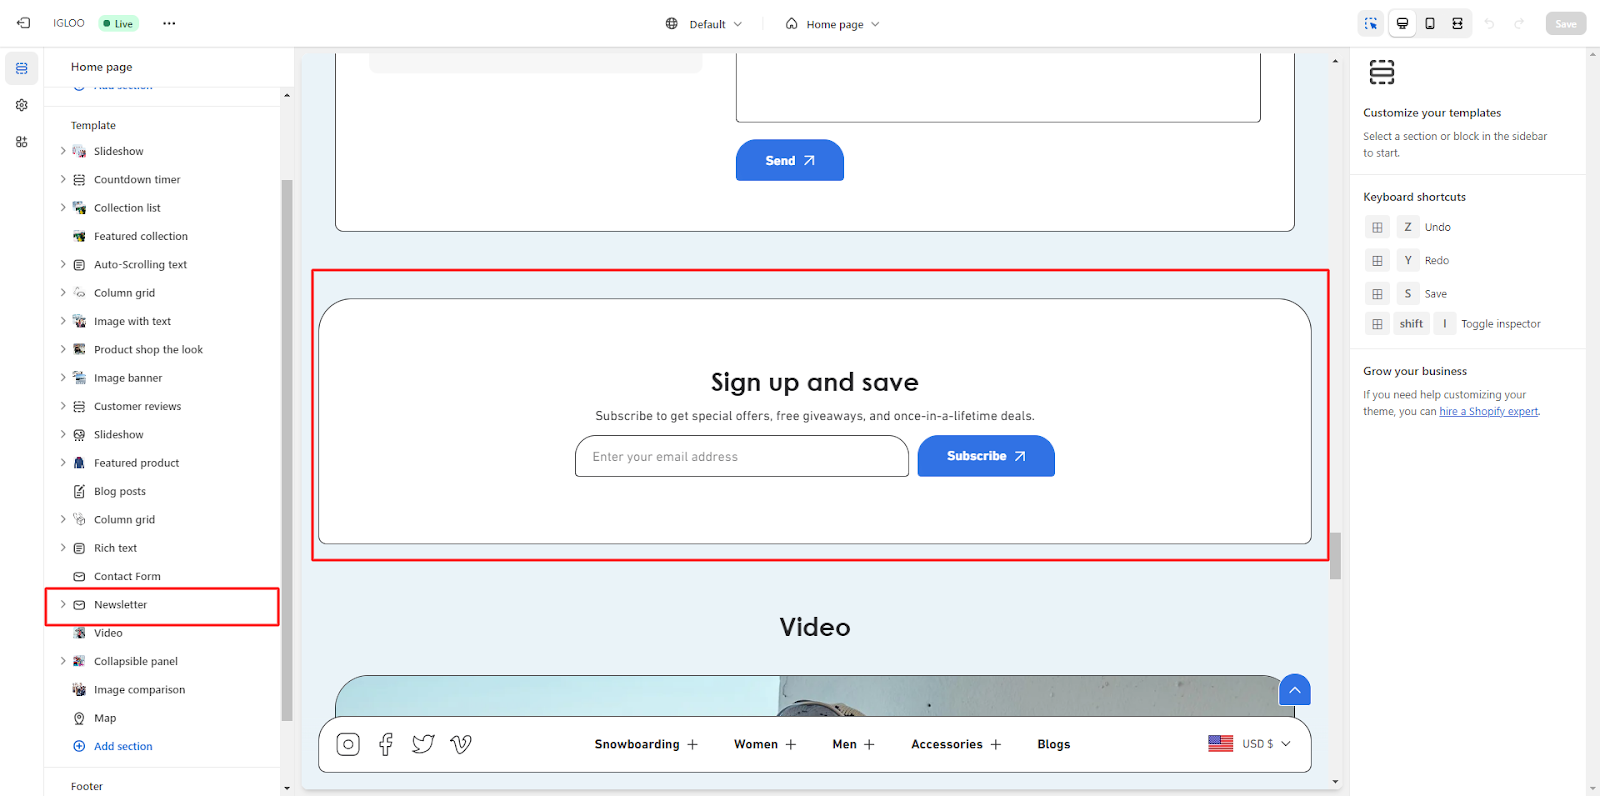
2. Subsequent to the successful integration of the Newsletter section into the template, proceed by selecting the newly added section. This action will grant entry to a suite of customization functionalities tailored specifically to the Newsletter section.
3. On the right-hand side, access the customization options for the newsletter layout. Commence the customization process by adjusting the layout to full width, if desired, and selecting an appropriate color scheme from the available dropdown menu.
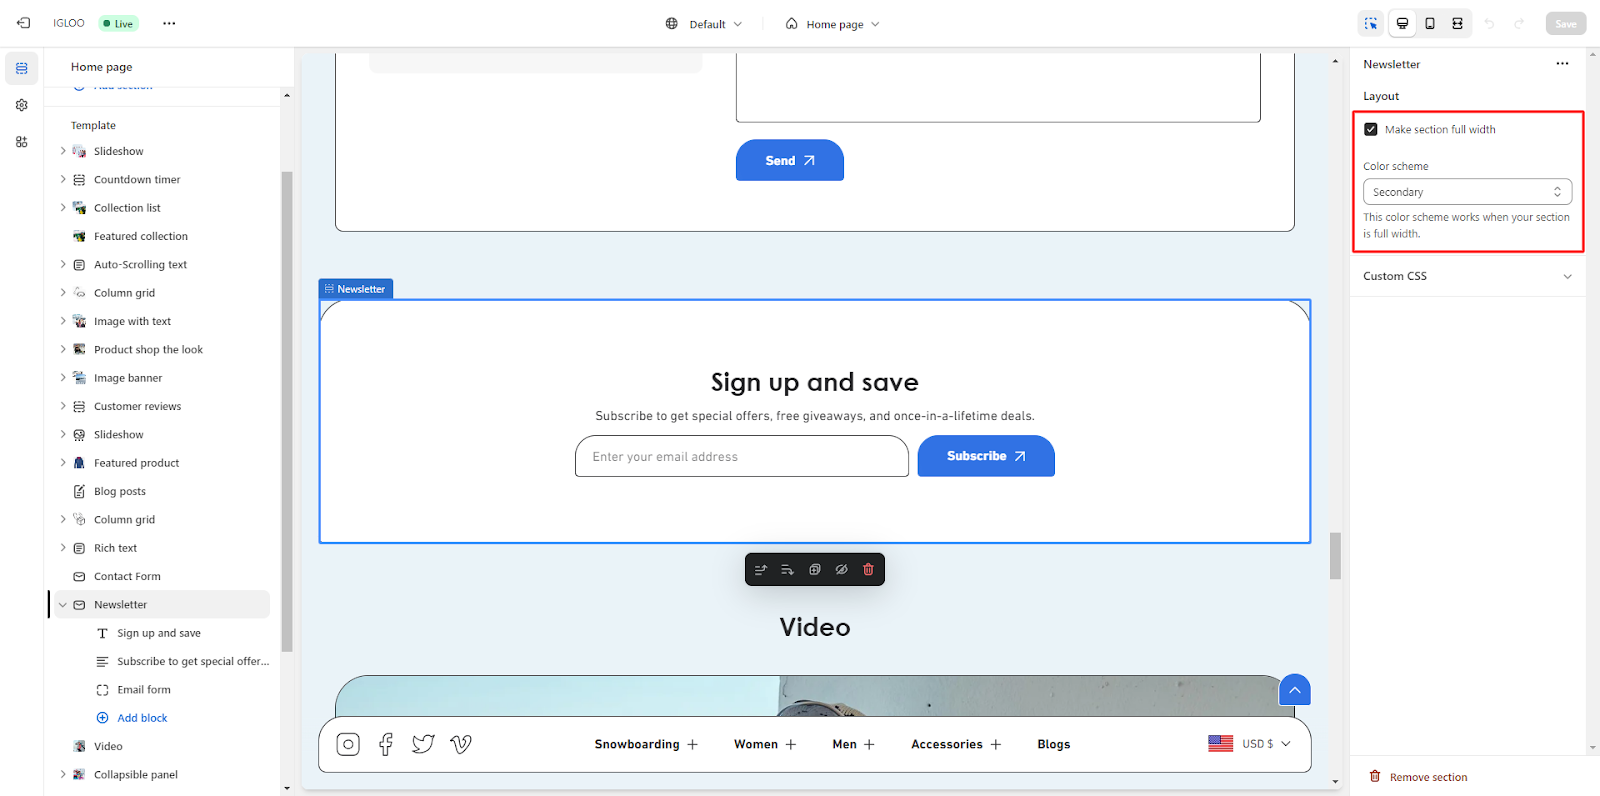
4. Proceed to add the heading for the newsletter along with the desired heading size.

5. Beneath the heading, input the descriptive content for the newsletter.

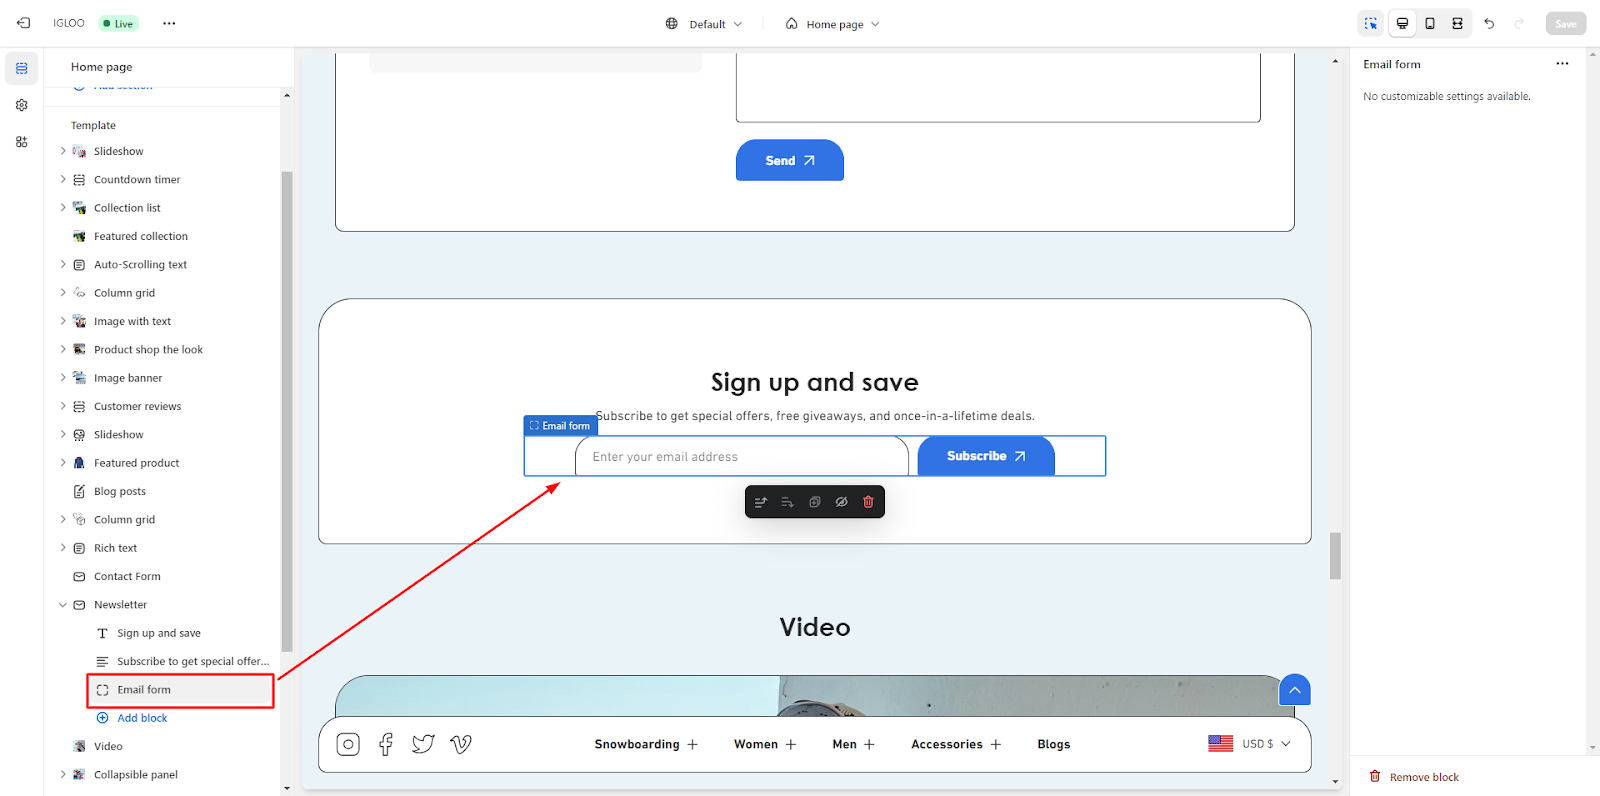
6. In this section, integrate the newsletter subscription form, allowing customers to provide their email addresses and subscribe to the newsletter.
By following these steps, you will systematically incorporate the Newsletter section into the template, customize its layout, and facilitate customer engagement through the subscription form.
Unable to locate the information you need?
Our support team is here to help! Feel free to reach out anytime – we're just a message away and ready to assist you with any questions you may have.